Why Laravel is the Best Framework for SaaS Startups in 2025

Starting a SaaS in 2025? You need a framework that’s fast, flexible, and future-proof. Laravel rises above the rest, offering startups the tools to build, scale, and succeed without breaking the bank. Here’s why it’s the go-to choice—straight to the point.

Let’s dive in.


1. Scales Like a Dream

SaaS startups often start small but need to grow fast. Laravel’s got your back:

  • Task Queues: Push heavy jobs—like sending welcome emails—to the background.
  • Caching Power: Slash load times with built-in support for Redis.
  • Server Flexibility: Add more machines without a headache.

In 2025, when viral growth can hit overnight, Laravel keeps your app steady.


2. Speeds Up Your Launch

Time is money, especially for startups. Laravel gets you to market quick:

  • Simple Database Magic: Query data with a few clean lines.
  • Ready-Made Tools: Authentication and routing are baked in—no reinventing the wheel.
  • Fast Frontend: Whip up pages with Blade in hours, not days.

For founders racing to launch, Laravel’s speed is a game-changer.


3. Handles Multiple Users with Ease

SaaS thrives on serving many clients seamlessly. Laravel makes multi-tenancy painless:

  • Shared Database: Tag records with a client_id and filter on the fly.
  • Separate Databases: Switch connections for total isolation.

No clunky hacks—just smooth, scalable user management.


4. Locks Down Security Tight

A single breach can kill a startup’s reputation. Laravel’s security is rock-solid:

  • Built-In Defenses: Stops sneaky attacks like cross-site scripting out of the box.
  • Easy Logins: Set up user access in minutes with Laravel Breeze.
  • Data Protection: Encrypt sensitive info without sweat.

In 2025, with cyber threats on the rise, Laravel keeps your SaaS safe.


5. Backed by a Buzzing Community

Startups need support—and Laravel delivers:

  • Tons of Add-Ons: Grab tools like Cashier for billing or Horizon for queues.
  • Clear Guides: Learn anything fast with top-notch docs.
  • Real-Time Help: X threads and forums are packed with Laravel pros.

A lively ecosystem means you’re never stuck in 2025’s tech race.


6. Saves Your Budget

Cash is tight for startups, and Laravel cuts costs:

  • No Fees: It’s open-source—pay nothing to use it.
  • Hiring Edge: Tons of developers know it, so talent’s affordable.
  • Quick Builds: Less time coding equals lower bills.

For bootstrappers in 2025, Laravel’s efficiency is pure gold.


7. Ready for Tomorrow’s Tech

SaaS trends evolve fast, and Laravel stays ahead:

  • API Simplicity: Build mobile-ready endpoints with Sanctum.
  • Cloud Power: Go serverless with Laravel Vapor.
  • Innovation Friendly: Tie in AI or analytics with minimal fuss.

Laravel ensures your SaaS won’t lag in 2025’s cutting-edge market.


Stacks Up Against the Rest

  • Django: Solid, but slower for UI builds and less startup-friendly.
  • Rails: Powerful, yet fading—fewer devs and higher costs.
  • Node.js: Speedy, but chaotic without Laravel’s structure.

Laravel blends power and simplicity like no other.


The Bottom Line

In 2025, SaaS startups need a framework that scales fast, cuts costs, and adapts to tomorrow. Laravel nails it with its robust features, tight security, and startup-friendly design. Whether you’re chasing your first 100 users or a million, Laravel sets you up to win.

Ready to build? Pick Laravel and launch your SaaS with confidence.


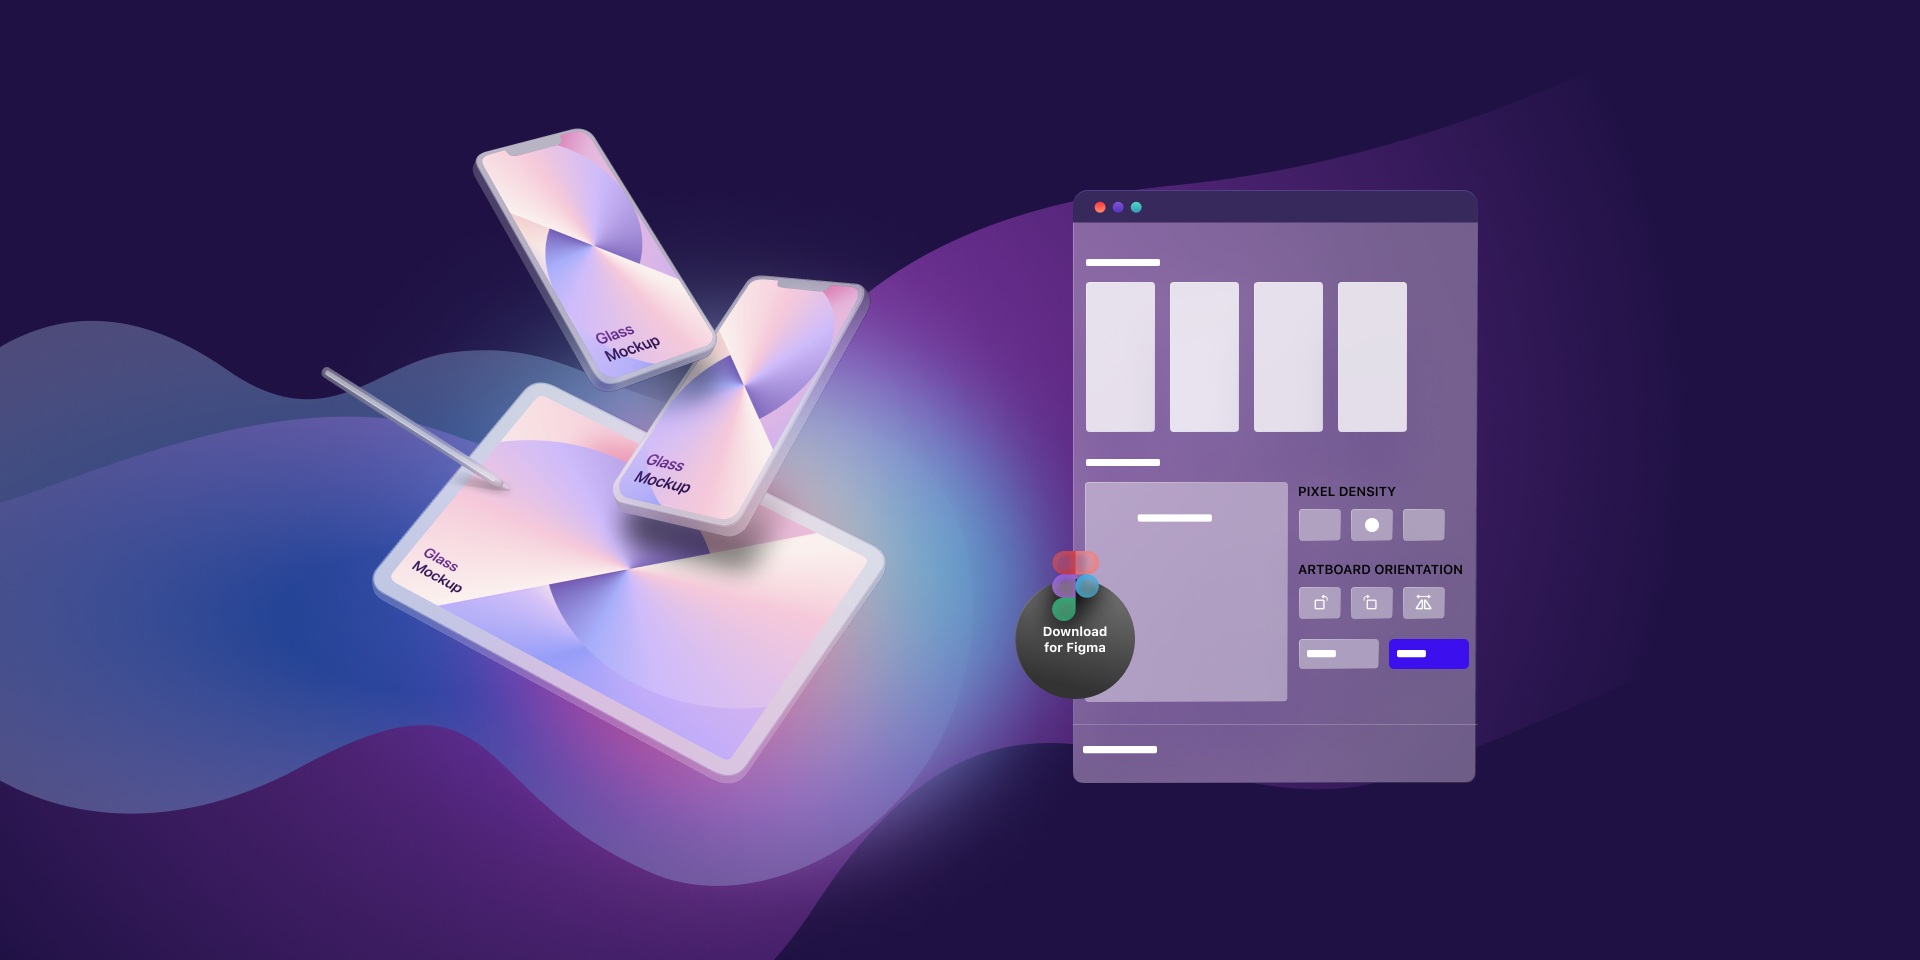
Figma to Shopify Conversion: Build a Stunning Store Fast

Transforming your Figma designs into a Shopify store doesn’t have to be complicated. Whether you’re a designer, developer, or business owner, this guide cuts through the noise to show you how to create a high-performing, visually stunning Shopify store—fast. Let’s dive into the essentials of Figma to Shopify conversion, why it matters, and the steps to make it happen.


Why Convert Figma Designs to Shopify?

Figma’s intuitive design platform paired with Shopify’s robust eCommerce tools is a match made in heaven. Here’s why this conversion works:

  • Pixel-Perfect Results: Your Figma vision becomes a Shopify reality with every detail intact.
  • Speedy Launch: Streamlined processes cut development time by up to 40%.
  • Mobile-Ready: Responsive designs ensure your store shines on any device.
  • SEO Boost: Clean code and optimized assets improve your search rankings.
  • Growth-Ready: Shopify’s scalability supports your business as it expands.

Ready to bring your design to life? Let’s get started.


5 Simple Steps to Convert Figma to Shopify

No fluff—just the actionable steps you need.

  1. Finalize Your Figma Design
    Lock in your design. Check layouts for all pages (home, product, cart) and test responsiveness across devices. Label layers clearly—developers will thank you.
  2. Export Assets
    Pull out images (PNG/JPEG), icons (SVG), and fonts. Optimize images with tools like TinyPNG to keep load times snappy. Note colors and spacing for accuracy.
  3. Set Up Shopify
    Pick a flexible Shopify theme or go custom with Liquid. Upload assets to your store’s asset library and organize them logically.
  4. Code It Up
    Turn your design into HTML/CSS for structure and style. Add Shopify’s Liquid code for dynamic content like products and collections. Toss in JavaScript for interactivity—think sliders or pop-ups.
  5. Test and Launch
    Test across browsers (Chrome, Safari, etc.) and devices. Fix glitches, optimize speed, and hit publish. Monitor performance with Shopify analytics post-launch.

Must-Have Tools for a Smooth Conversion

  • Figma Developer Mode: Extracts CSS and specs for devs.
  • Shopify Theme Kit: Builds and deploys custom themes fast.
  • Responsively App: Tests responsiveness across screen sizes.
  • TinyPNG: Shrinks images without losing quality.
  • VS Code: Edits Liquid, CSS, and JS like a pro.

Pro Tips for Success

  • Keep It Organized: Structured Figma files save headaches later.
  • Prioritize Speed: Compress assets and minify code.
  • Collaborate Early: Share specs with devs upfront to avoid rework.
  • Check SEO Basics: Add meta tags, alt text, and clean URLs.

Why It’s Worth It

A seamless Figma to Shopify conversion means a store that looks great, loads fast, and ranks well. It’s not just about aesthetics—it’s about driving sales and keeping customers happy. Whether you DIY or hire a pro, this process delivers results.


Ready to Launch?

You’ve got the blueprint. Now, turn your Figma masterpiece into a Shopify store that stands out. Start today—your customers are waiting.

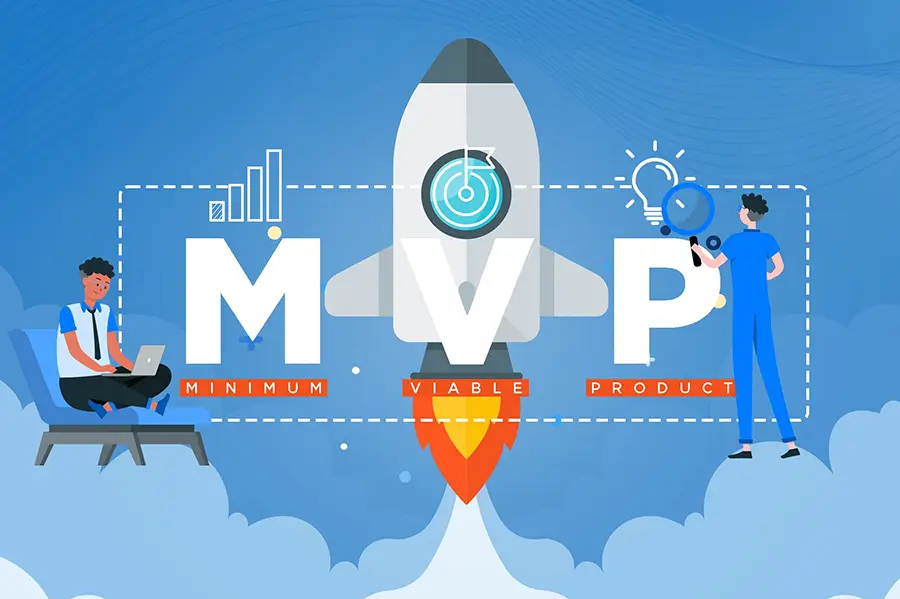
MVP Development: How to Validate Your SaaS Idea in 30 Days

Got a SaaS idea burning a hole in your brain? Don’t waste months—or money—building something nobody wants. With a Minimum Viable Product (MVP), you can test your concept in just 30 days and know if it’s worth pursuing. This guide cuts the fluff and gives you a clear, practical plan to validate your SaaS idea fast.

Let’s make it happen.


Day 1-3: Nail Down Your Idea

Start by focusing your vision:

  • Solve One Problem: Pick the core pain point your SaaS addresses. Example: “Small businesses need affordable invoicing.”
  • Define Your Audience: Who’s hurting the most? Be specific—e.g., “Freelancers under 35.”
  • Set a Hypothesis: Write it down: “If I offer X, then Y will pay for it because Z.”

Action: Spend a few hours sketching your idea on paper. No coding yet—just clarity.


Day 4-7: Design a Lean MVP

Keep it simple—your MVP isn’t the final product:

  • Core Feature Only: Build the one thing that proves your idea works. For invoicing, that’s creating and sending an invoice—nothing fancy.
  • Choose Tools: Use Laravel, Bubble, or even a no-code platform like Glide to whip it up fast.
  • Skip Perfection: Ugly but functional beats pretty and useless.

Action: Outline your MVP’s must-have feature in a checklist. Aim for “done” by Day 10.


Day 8-15: Build It Quick

Time to get your hands dirty:

  • Set Up Your Base:

With Laravel:

  • Code the Core:
    • Example: A basic invoicing form with email delivery
  1. Launch Locally: Test it on your machine first.

Pro Move: Focus on function, not polish—speed is your friend.


Day 16-20: Find Your First Testers

You need real feedback, not guesses:

  • Tap Your Network: Ask friends, colleagues, or social media followers to try it.
  • Hit Niche Communities: Post on X or forums like Indie Hackers with a simple pitch: “Hey, I built this—can you test it?”
  • Offer It Free: Early testers don’t pay—they validate.

Action: Aim for 10-20 users. Send them a link and a 3-question survey: Does it work? Would you use it? What’s missing?


Day 21-25: Gather and Analyze Feedback

Data beats opinions—listen to your testers:

  • Track Usage: Use simple analytics (e.g., Google Analytics) to see what they click.
  • Spot Patterns: If 80% say “It’s slow,” that’s a red flag.
  • Tweak Fast: Fix glaring issues—like a buggy button—in a day or two.

Reality Check: If nobody likes the core feature, rethink your idea now—not later.


Day 26-28: Refine and Decide

Polish just enough to test willingness to pay:

  • Add a Price Tag: Introduce a “beta discount” (e.g., $5/month) and see who bites.
  • Ask Directly: Email testers: “Would you pay for this? If not, why?”
  • Measure Interest: Even 3-5 “yes” answers signal potential.

Action: Update your MVP based on feedback—keep changes small but impactful.


Day 29-30: Validate or Pivot

Time to face the truth:

  • Success Signs: Users engage, some commit to pay, and feedback is mostly positive.
  • Warning Signs: Nobody uses it, or they hate the core idea.
  • Next Steps:
    • Green light? Scale it into a full SaaS.
    • Red light? Pivot to a new angle or scrap it.

Gut Check: Be honest—don’t cling to a dud just because you built it.


Why This Works

In 30 days, you’ve gone from idea to real-world proof with minimal risk. An MVP isn’t about perfection—it’s about learning fast. By focusing on one feature, testing with real people, and staying lean, you’ll know if your SaaS has legs before you bet the farm.


Your Move

Got a SaaS idea? Stop dreaming and start building. In 30 days, you’ll have answers—not just hopes. Grab your laptop, pick your tool, and validate that concept today.

How to Build a Scalable SaaS with Laravel: A Step-by-Step Guide

Creating a scalable Software as a Service (SaaS) application with Laravel is a winning move for developers aiming for efficiency and growth. Laravel’s powerful features and clean design make it ideal for SaaS projects. This guide cuts through the noise to deliver clear, actionable steps.

Let’s jump right in.


Step 1: Plan Your SaaS Foundation

Start by mapping out your SaaS essentials:

  • Multi-Tenancy: Decide between one database with tenant separation or unique databases per tenant. One database is easier to manage; separate ones boost isolation.
  • Core Features: Think subscriptions, user logins, payment systems, and dashboards.
  • Growth Strategy: Design for scalability—optimize queries and prepare for extra servers.

Quick Tip: Leverage Laravel’s Eloquent ORM and migrations for a solid base.


Step 2: Launch Your Laravel Project

Kick off with a clean Laravel setup:

Install via Composer:

Tweak your .env file with database details and app settings.

Initialize a Git repository to monitor your progress:

SEO Boost: A smooth start paves the way for rapid scaling—readers love that in a Laravel SaaS tutorial.


Step 3: Set Up Multi-Tenancy

Multi-tenancy is key for SaaS. Here’s how Laravel handles it:

  • Single Database:
    • Add a tenant_id to tables.

Scope queries with middleware:

Separate Databases:

  • Dynamically switch connections:
    php

Step 4: Add Authentication and Access Control

Secure your SaaS with Laravel’s tools:

  • Use Laravel Breeze or Jetstream for instant auth scaffolding:
  • Tie registration to tenants or subscription tiers.
  • Control permissions with Gates

Why It’s Crucial: Strong security builds user trust fast.


Step 5: Enable Subscriptions with Cashier

Add recurring payments easily:

Install Laravel Cashier:

  • Define plans in config/services.php.
  • Implement subscriptions:

Growth Hack: Use webhooks to process payments in the background, keeping your app snappy.


Step 6: Boost Scalability

Prepare your SaaS for heavy traffic:

  • Caching: Store frequent data with Redis or Memcached.
  • Queues: Offload tasks like notifications:
  • Load Balancing: Sync sessions with Redis for multi-server setups.

Step 7: Test Thoroughly

Ensure reliability before launch:

  • Write tests with PHPUnit:
  • Test UIs with Laravel Dusk if needed.

SEO Win: Tested apps rank higher with readers searching “Laravel SaaS development guide.”


Step 8: Deploy and Track Performance

  • Launch on AWS, DigitalOcean, or Laravel Forge.
  • Automate deployments with GitHub Actions or Envoyer.
  • Monitor with Laravel Telescope or external tools like New Relic.

Pro Move: Log errors with Laravel’s system to stay ahead of issues.


Wrap-Up

With Laravel, building a scalable SaaS is fast and effective. Plan smart, use its built-in tools, and optimize for growth. Whether you’re aiming small or big, Laravel scales with you.

Start coding now—your SaaS awaits!

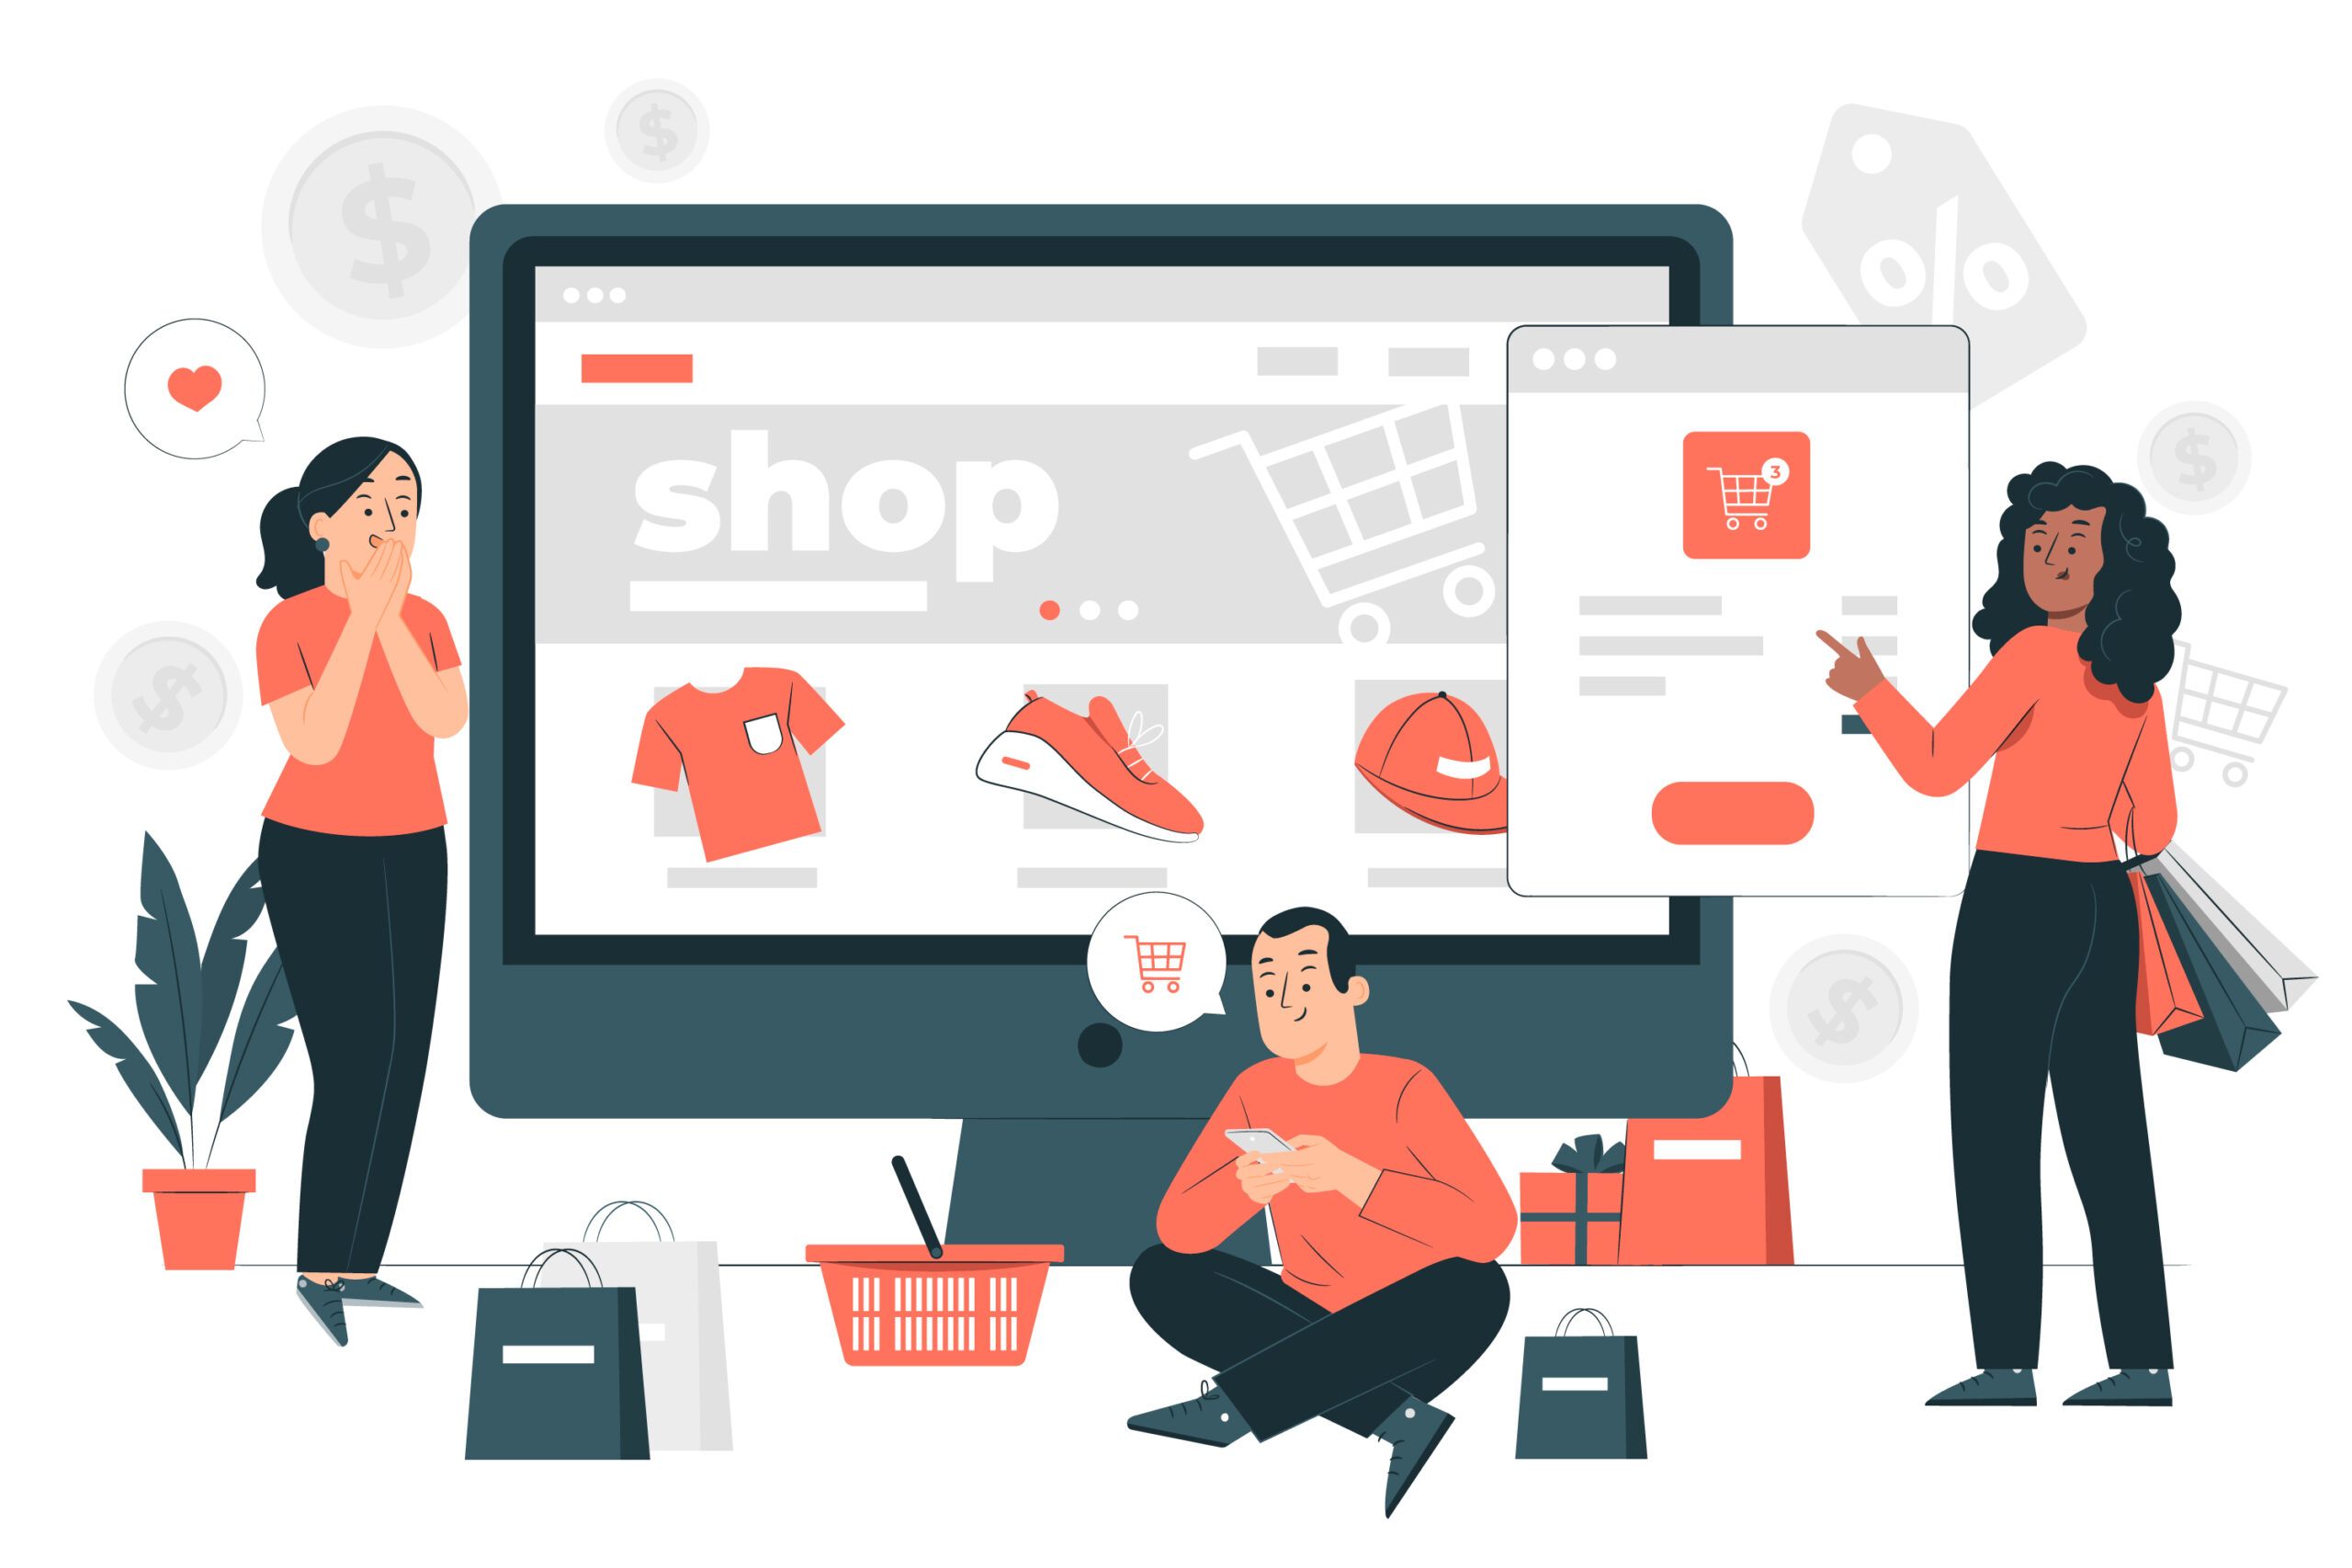
Boost Your Shopify Store Speed: Essential Steps to Faster Load Times and Higher Conversions

Supercharge Your Shopify Store: A Guide to Blazing Speed

In the wild world of online retail, every tick of the clock matters. A Shopify store that drags its feet can send shoppers bolting for the exit, costing you sales and a shot at prime search engine real estate. Ready to transform your store into a speed demon that keeps customers clicking “buy”? Here’s how to fine-tune your site for lightning-fast performance and a shopping experience that shines.


Start with a Sleek, Speedy Theme

Your store’s theme is like its engine—pick one that’s built to race. Lean toward a nimble choice like Shopify’s Dawn, engineered for quick starts and smooth runs. Flashy, bloated themes might look pretty, but they’ll weigh you down. Test a theme’s pace before you commit, ensuring it’s got the zip you need to impress.


Ditch the Dead Weight

Themes often come packed with extras—sliders, pop-ups, you name it. If it’s not pulling its weight for your business, cut it loose. Head into your settings, axe the fluff, and watch your store shed the pounds that slow it down. Less baggage equals a quicker trip for your visitors.


Rein In Your App Collection

Apps are like shiny tools in a toolbox—handy, but too many can clutter the works. Take a hard look at what’s installed, and toss out anything that’s just gathering dust. Stick to the essentials that make your store hum, and you’ll keep the gears turning fast.


Polish Up Your Pictures

Stunning product photos are your storefront’s charm, but giant files are a silent speed killer. Trim them down—resize and crop them to fit just right before they hit your site. Shopify tweaks them further with compression and WebP magic, but a little prep work upfront keeps things zooming.


Let Lazy Loading Do the Heavy Lifting

Imagine unloading a truck only when the customer’s at the door—that’s lazy loading. It holds off on fetching images until someone’s ready to see them. Perfect for pages stacked with visuals, this trick gets your store up fast and fills in the details as shoppers scroll.


Stream Videos Smartly

Videos can sell like nothing else, but hosting them on Shopify is like stuffing your trunk with bricks. Upload them to YouTube or Vimeo instead, then embed them on your pages. You’ll keep the wow factor without bogging down the ride.


Dodge the Redirect Maze

Redirects are like detours on a road trip—too many, and you’re stuck in traffic. Keep them short and sweet, avoiding loops that leave browsers spinning. A straight path gets customers where they’re going without the wait.


Ride Shopify’s CDN Wave

Shopify hands you a secret weapon: a Content Delivery Network (CDN) powered by Fastly. It’s like having express lanes worldwide, delivering your store’s goods from the closest hub to your customer. Lean into this perk, and distance won’t slow you down.


Keep Your Engine Tuned

Speed isn’t a one-and-done deal—it’s a pit stop routine. Fire up tools like Google PageSpeed Insights or Shopify’s performance tracker to peek under the hood. Spot the bottlenecks, tweak the knobs, and stay ahead of the curve for a store that never stalls.


Win the Mobile Race

Mobile shoppers are the pack leaders now, and they won’t wait for a sluggish site. Make sure your store flies on phones and tablets, with fast loads and smooth moves. Nail this, and you’ll grab a chunk of the biggest crowd out there.


The Finish Line

Kicking your Shopify store into high gear isn’t just about shaving seconds—it’s about building a slick, customer-loving machine that racks up sales and climbs the SEO ladder. Take these steps, tune your shop to perfection, and watch it roar past the competition. The race starts now—go make it happen!

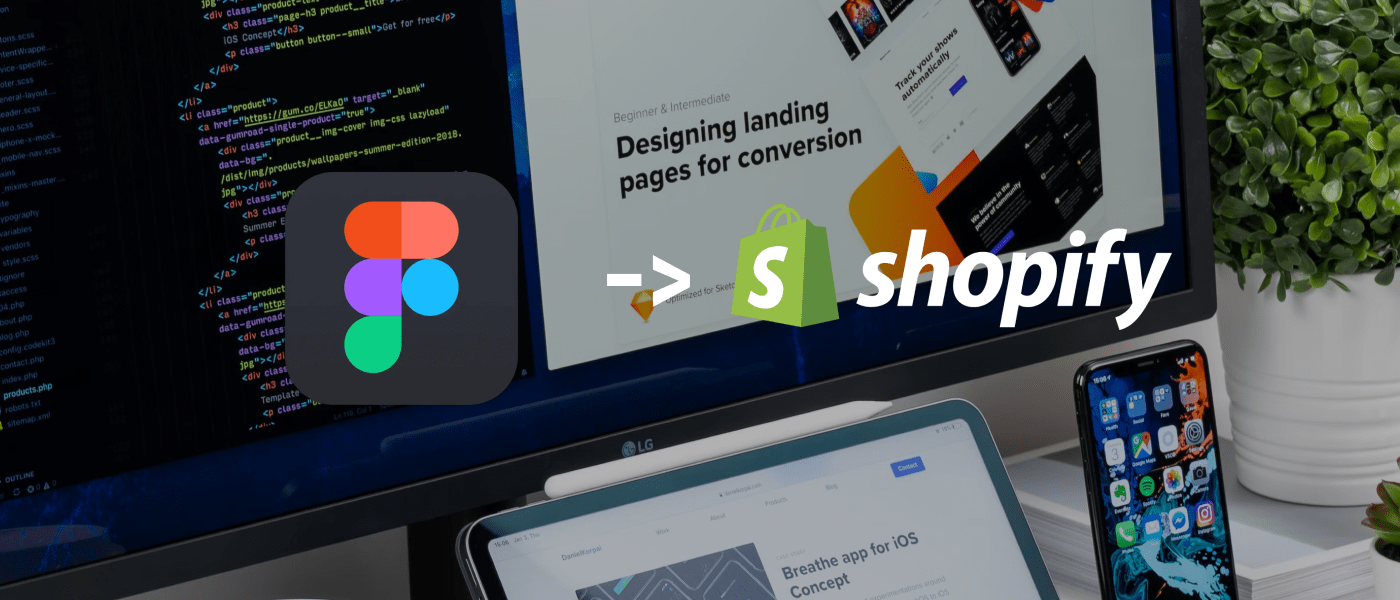
How to Turn Your Figma Designs into a Working Shopify Store in Simple Steps

Ever designed a gorgeous Figma mockup and wondered, “How do I make this a real Shopify store?” You’re not alone. The good news? It’s simpler than you think. With a clear plan, you can take your pixel-perfect designs and launch a live store that’s ready to sell. Here’s how to do it, step by step, without getting lost in the weeds.


Get Your Figma Design Ready

First things first—make sure your Figma file is locked and loaded. Tweak your layouts so they’re practical for a store: a welcoming homepage, easy-to-browse product pages, and a smooth checkout flow. Think like a shopper—what would make this design a joy to use? Once it’s set, you’re ready to roll.


Pick a Shopify Theme That Fits

Shopify’s got a lineup of themes, some free, some paid. Scroll through and grab one that vibes with your Figma look. If your design’s bold and colorful, maybe try “Boost.” If it’s sleek and simple, “Minimal” could be your match. Install it from the Shopify dashboard—it’s your starting canvas.


Pull Out the Pieces

Open your Figma file and zoom in on the details. Export images like your logo or product shots (stick to PNG or JPG for quality). Jot down the fonts you used—say, “Roboto” or “Poppins”—and the exact colors (those hex codes matter!). This prep keeps everything consistent when you jump to Shopify.


Shape the Theme to Match

In Shopify, hit “Online Store” then “Customize.” This is where the magic happens. Swap in your images, plug in those fonts and colors, and rearrange sections to mirror your Figma layout. Need a standout header? Tweak it here. Want a custom vibe? Dip into the code editor for a quick CSS fix. It’s like sculpting, but faster.


Load Up Your Store

Time to make it functional. Add your products—titles, prices, photos—following your Figma product page as a blueprint. Test the “Add to Cart” button and checkout process. If it flows smoothly, you’re golden. Shopify makes this part a breeze, so don’t overthink it.


Nail the Mobile Experience

Shoppers love their phones, so your store better shine there too. Use Shopify’s mobile preview to spot-check. Buttons too tiny? Bump them up. Images squished? Adjust the scale. A store that works on every screen keeps customers happy and boosts your Google ranking.


Double-Check and Go Live

Before you launch, play customer. Click around—does everything work? Is it fast? If it feels right, head to Shopify and hit “Publish.” Boom—your Figma vision is now a living, breathing store.


Extra Boost: Apps for Flair

Got a fancy feature in your design, like a countdown timer? Shopify’s app store has your back. Add only what you need—too many apps can slow things down, and speed’s a big deal for both people and search engines.


Why Bother?

Turning Figma designs into a Shopify store isn’t just cool—it’s practical. You get a shop that looks exactly how you pictured it, without wrestling with code for weeks. It’s your creativity, made real, and ready to rake in sales.

So, what are you waiting for? Grab your Figma file, follow these steps, and watch your store come to life. You’ve got this!

WooCommerce vs Magento: Choosing the Right Platform for Your Business

Choosing between WooCommerce and Magento can feel overwhelming. Both platforms dominate the eCommerce space but cater to vastly different audiences. Let’s cut through the noise and compare them head-to-head, focusing on what matters most: costs, scalability, ease of use, and long-term growth.


Quick Comparison: WooCommerce vs Magento (2024)

Feature WooCommerce Magento
Best For Small businesses, startups, WordPress users Large enterprises, B2B brands, complex stores
Cost 120–1,000+/year (hosting, plugins, themes) 22,000–190,000+/year (Enterprise plans)
Ease of Use Beginner-friendly, intuitive WordPress integration Steep learning curve, requires technical expertise
Scalability Limited (needs plugins for growth) Built for enterprise-level scaling
Security Relies on WordPress plugins Advanced security patches, dedicated scans
SEO & Marketing Integrates with WordPress SEO tools (Yoast, Rank Math) Built-in SEO tools, A/B testing, advanced analytics

 Ease of Use: Who Wins?

  • WooCommerce: Perfect for beginners.
    • Installs in minutes via WordPress.
    • Drag-and-drop themes, 10,000+ plugins.
    • Setup wizard guides you through payments, taxes, and shipping.
  • Magento: Built for developers.
    • Requires command-line knowledge for installation.
    • Complex dashboard with advanced customization options.

Verdict: WooCommerce is ideal if you lack coding skills. Magento demands a developer.


Cost Breakdown: Which Fits Your Budget?

  • WooCommerce:
    • Free plugin, but costs add up:
      • Hosting: $120+/year
      • Premium plugins: 100–400/year
      • Themes: 20–129
    • Example: A basic store costs ~$300/year.
  • Magento:
    • Open Source (free): Limited features.
    • Commerce Edition: Starts at $22,000/year.
    • Hidden costs:
      • Developer fees: 1,800–10,000+
      • Security patches: 50–300/year

Verdict: WooCommerce wins for affordability. Magento suits deep-pocketed enterprises.


Features: Who Does More?

  • Product Management:
    • Both support unlimited products.
    • Magento offers multi-store management out-of-the-box (WooCommerce needs plugins).
  • B2B Tools:
    • Magento Commerce includes bulk pricing, custom catalogs.
    • WooCommerce requires paid plugins like B2B for WooCommerce.
  • Promotions:
    • Magento: Built-in tiered discounts, cart rules.
    • WooCommerce: Relies on plugins (e.g., Dynamic Pricing).

Verdict: Magento leads in advanced features; WooCommerce requires plugins.


Scalability: Handling Growth

  • WooCommerce:
    • Struggles with 50,000+ products without heavy optimization.
    • Needs plugins like Jetpack for performance boosts.
  • Magento:
    • Built to handle 100,000+ products and high traffic.
    • Supports global selling with multi-language/currency tools.

Verdict: Magento is future-proof for rapid scaling.


Security: Which Is Safer?

  • WooCommerce: Depends on WordPress security.
    • Requires plugins like Wordfence for malware scans.
  • Magento: Enterprise-grade protection.
    • Free Adobe Security Scan detects 21,000+ threats.
    • Regular patches for vulnerabilities.

Verdict: Magento offers stronger built-in security.


SEO & Marketing Tools

  • WooCommerce:
    • Integrates with Yoast SEO, email tools like Omnisend.
    • Limited A/B testing capabilities.
  • Magento:
    • Built-in SEO-friendly URLs, sitemaps, and analytics.
    • Advanced segmentation for personalized campaigns.

Verdict: Magento edges ahead with native marketing tools.


Support & Community

  • WooCommerce:
    • 24/7 forums, WordPress experts, and paid plugin support.
  • Magento:
    • Enterprise users get dedicated support.
    • Open Source users rely on community forums.

Verdict: Tie. Both have strong communities but lack direct support for free tiers.


Final Verdict: Who Should Choose What?

Pick WooCommerce If You…

  • Run a small to medium-sized store.
  • Use WordPress and want a budget-friendly setup.
  • Prefer DIY customization without coding.

Choose Magento If You…

  • Need enterprise-level scalability.
  • Have a developer team (or budget to hire one).
  • Sell B2B or manage complex catalogs.

Still Unsure?

  • Startups: WooCommerce’s low cost and simplicity make it the clear choice.
  • Growing Brands: Migrate to Magento once you hit $500k+ in annual revenue.

By aligning your choice with business sizetechnical resources, and growth goals, you’ll unlock the full potential of your eCommerce store.

Figma to Shopify Simplified: Build Your eCommerce Store Step by Step

Got a Figma design you’re dying to turn into a Shopify store? You’re in the right spot. This isn’t some tech maze—it’s a straight path to get your eCommerce idea live and selling. I’ll walk you through it, piece by piece, so you can see your vision come to life without breaking a sweat. Let’s do this.


Step 1: Perfect Your Figma Game Plan

Kick things off by fine-tuning your Figma design. Imagine shopping it yourself—does the homepage hook you? Are the product pages inviting? Does the checkout feel effortless? Get it dialed in now, and you’ll save headaches down the road.


Step 2: Find Your Shopify Match

Swing by Shopify’s theme stash. They’ve got freebies like “Narrative” or paid options like “Prestige”—choose one that echoes your Figma’s soul. Clean and simple? Go light. Big and brash? Pick bold. Set it up in your Shopify dashboard, and you’re off.


Step 3: Harvest Your Figma Bits

Crack open Figma and gather your tools. Export your logo, icons, or any visuals—keep ‘em sharp with PNG or JPG. Scribble down your fonts (think “Arial” or “Playfair Display”) and those color codes (like #2E86C1). It’s your cheat sheet for what’s next.


Step 4: Sculpt Shopify to Fit

In Shopify, hit “Online Store” and jump into “Customize.” Load up your images, punch in fonts, match those colors. Shuffle sections ‘til it’s your Figma twin—easy as pie. For a standout twist, like a slick nav bar, tweak the code a touch. It’s less scary than it looks.


Step 5: Fill It Up and Try It Out

Now, make it a store. Add products—pics, titles, prices—sticking to your Figma layout like glue. Test it yourself—toss something in the cart, zip through checkout. If it clicks, you’re golden. Shopify keeps this smooth and simple.


Step 6: Shine on Mobile

Phone shoppers are everywhere, so your store’s gotta look ace on small screens. Peek at Shopify’s mobile view. Text too puny? Bump it up. Pics off? Fix the fit. A mobile win keeps buyers around and boosts your search cred.


Step 7: Run It, Launch It, Own It

Play customer for a sec—click around, test the flow, feel the speed. All good? Smash that “Publish” button in Shopify. Just like that, your Figma creation’s a real store, ready to roll. You nailed it.


Extra Kick: Apps for Spice

If your Figma’s got flair—like a “Buy Now” popup—Shopify’s app store’s got options. Snag what fits, but don’t overdo it. Speed’s king for happy shoppers and higher rankings.


Why You’ll Love This

Flipping Figma into Shopify isn’t just a task—it’s your shot to build something real. You get a store that’s all you, no compromises, and it’s live faster than you’d guess. That’s the win.

Ready? Grab your Figma file and follow along. Your eCommerce dream’s about to hit the ground running—let’s make it happen.

Best Tools for YouTube Shorts and Instagram Reels Creation

Tools to Shine

Great short-form videos start with the right tools. YouTube Shorts and Instagram Reels offer built-in options—let’s explore.

YouTube Shorts Tools

On-Platform Creation

YouTube’s “create a short” feature trims long-form videos into Shorts. Quick, low-res, and perfect for audio creators—think podcast snippets.

Instagram Reels Tools

Template Magic

Reels let you turn images or clips into music-synced videos. Ideal for visual creators—travel shots or fashion transitions made easy.

Leveling Up with ContentFries

ContentFries takes it further. Auto-captions, high-res edits, and bulk Shorts or Reels from one video—say, ten clips from a 5-minute vlog. Beats YouTube’s basic trim and Instagram’s templates.

Platform Fit

YouTube Shorts suit entertainers with audio content, boosted by 2024’s push and monetization. Instagram Reels favor influencers with viral visuals, leaning on sharing.

Practical Tips

For Shorts, tease a vlog moment and link it. For Reels, sync photos to a trend. Use ContentFries for quality on both. Pick based on your goal—steady growth or fast fame.

Shopify Theme Customization: How to Bring Your Figma Mockups to Life Easily

You’ve poured your heart into a Figma mockup, and now it’s time to see it thrive as a Shopify store. Customizing a Shopify theme to match your design isn’t some tech wizardry—it’s a straightforward process anyone can tackle. This guide strips it down to the essentials, showing you how to bring your Figma vision to life, step by step. Let’s get your store up and humming.


Step 1: Prep Your Figma Mockup

Before you touch Shopify, make sure your Figma mockup is dialed in. Picture yourself shopping it—does the homepage spark interest? Are product pages clean and tempting? Is the checkout a breeze? Tweak until it’s a design you’d brag about. A tight mockup now keeps the process smooth later.


Step 2: Choose a Shopify Theme That Fits

Shopify’s got a treasure trove of themes—free ones like “Craft” or premium picks like “Pipeline.” Scroll through and grab one that echoes your Figma’s style. If your mockup’s sleek and modern, lean minimal. If it’s punchy and bold, pick something with attitude. Install it via your Shopify dashboard, and you’ve got your canvas.


Step 3: Pull Your Figma Assets Together

Open your Figma file and round up what you’ll need. Export images—logos, banners, product shots—in crisp PNG or JPG format for that pro polish. Jot down your fonts (think “Poppins” or “Georgia”) and snag those color codes (like #FFC107). It’s your blueprint for making Shopify look the part.


Step 4: Dive Into Shopify Customization

In Shopify, head to “Online Store” and click “Customize.” This is where your mockup starts taking shape. Upload your images—swap out the theme’s defaults with your own. Plug in your fonts through the typography settings and match colors using those hex codes. Rearrange sections—headers, footers, whatever—until it’s your Figma design in real time. For a custom twist, like a standout call-to-action, dip into the code editor and tweak the CSS. It’s less daunting than it seems.


Step 5: Add Products and Test the Vibe

Your theme’s looking sharp—now make it functional. Add your products—photos, titles, prices—using your Figma product page as a roadmap. Don’t just dump them in; test the flow. Add an item to the cart, run through checkout, click around. If it feels seamless, you’re golden. Shopify’s interface keeps this quick and painless.


Step 6: Perfect the Mobile Experience

Half your customers will hit your store from their phones, so it better shine there. Use Shopify’s mobile preview to scope it out. Buttons too tiny? Bump them up. Images stretched weird? Adjust the scale. A mobile-friendly theme isn’t optional—it’s your edge for sales and search rankings.


Step 7: Final Run-Through and Launch

Before you unleash it, play customer. Click every link, test every button, clock the load time. Does it feel fast and intuitive? If yes, head to Shopify and hit “Publish.” Your Figma mockup’s now a living, breathing Shopify theme, ready to sell. Take a second to soak that in—you made it happen.


Bonus Tip: Amp It Up with Apps

If your Figma mockup has extras—like a live chat box or a sale timer—Shopify’s app store is your friend. Grab what fits, but keep it lean. Too many apps can bog things down, and speed’s a dealbreaker for shoppers and Google alike.


Why This Matters

Customizing a Shopify theme with your Figma mockup isn’t just about looks—it’s about owning your brand. You get a store that’s uniquely yours, built to your specs, without wrestling code for weeks. It’s your creativity, unleashed on the world, ready to turn browsers into buyers.


Ready to Roll?

This isn’t rocket science—it’s a clear shot from Figma to Shopify success. You don’t need to be a developer or a design guru; you just need your mockup and a little grit. Start with that Figma file, follow these steps, and watch your store come alive. It’s faster than you think, and the payoff? A Shopify theme that’s all you, top to bottom.