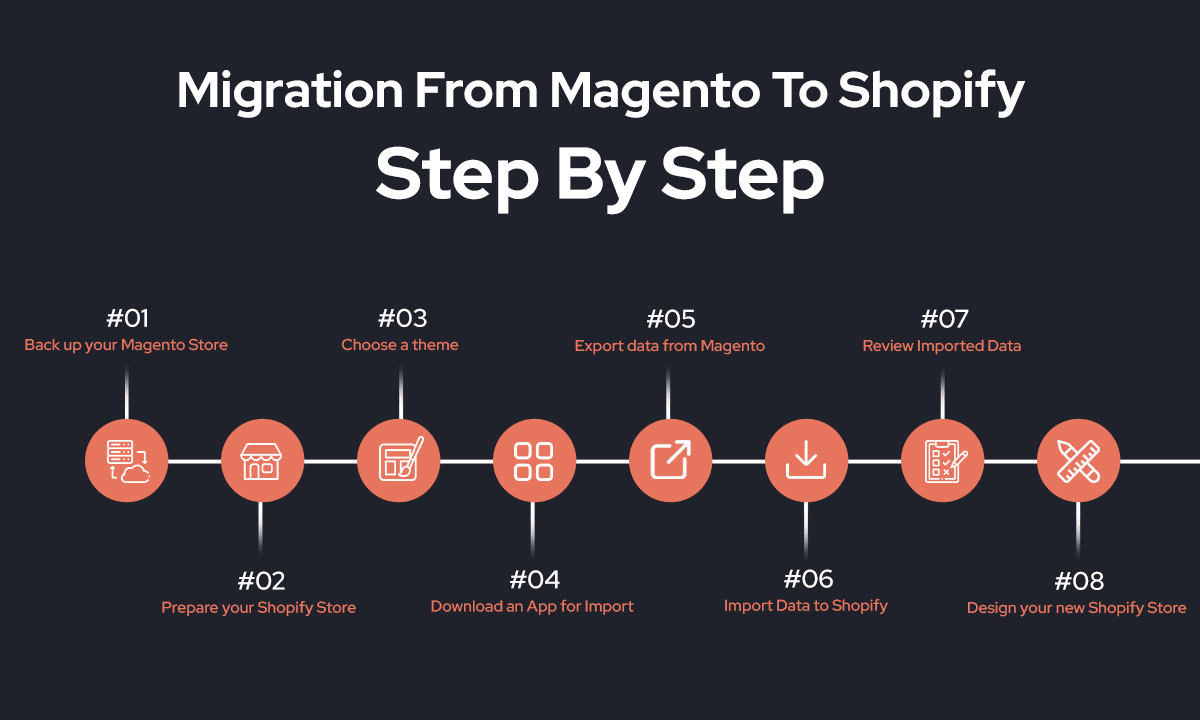
How to Migrate Your Store from Magento to Shopify: A Complete Guide
In the fast-paced world of e-commerce, adaptability is not just a strength—it’s a necessity. Over the past decade, businesses have…
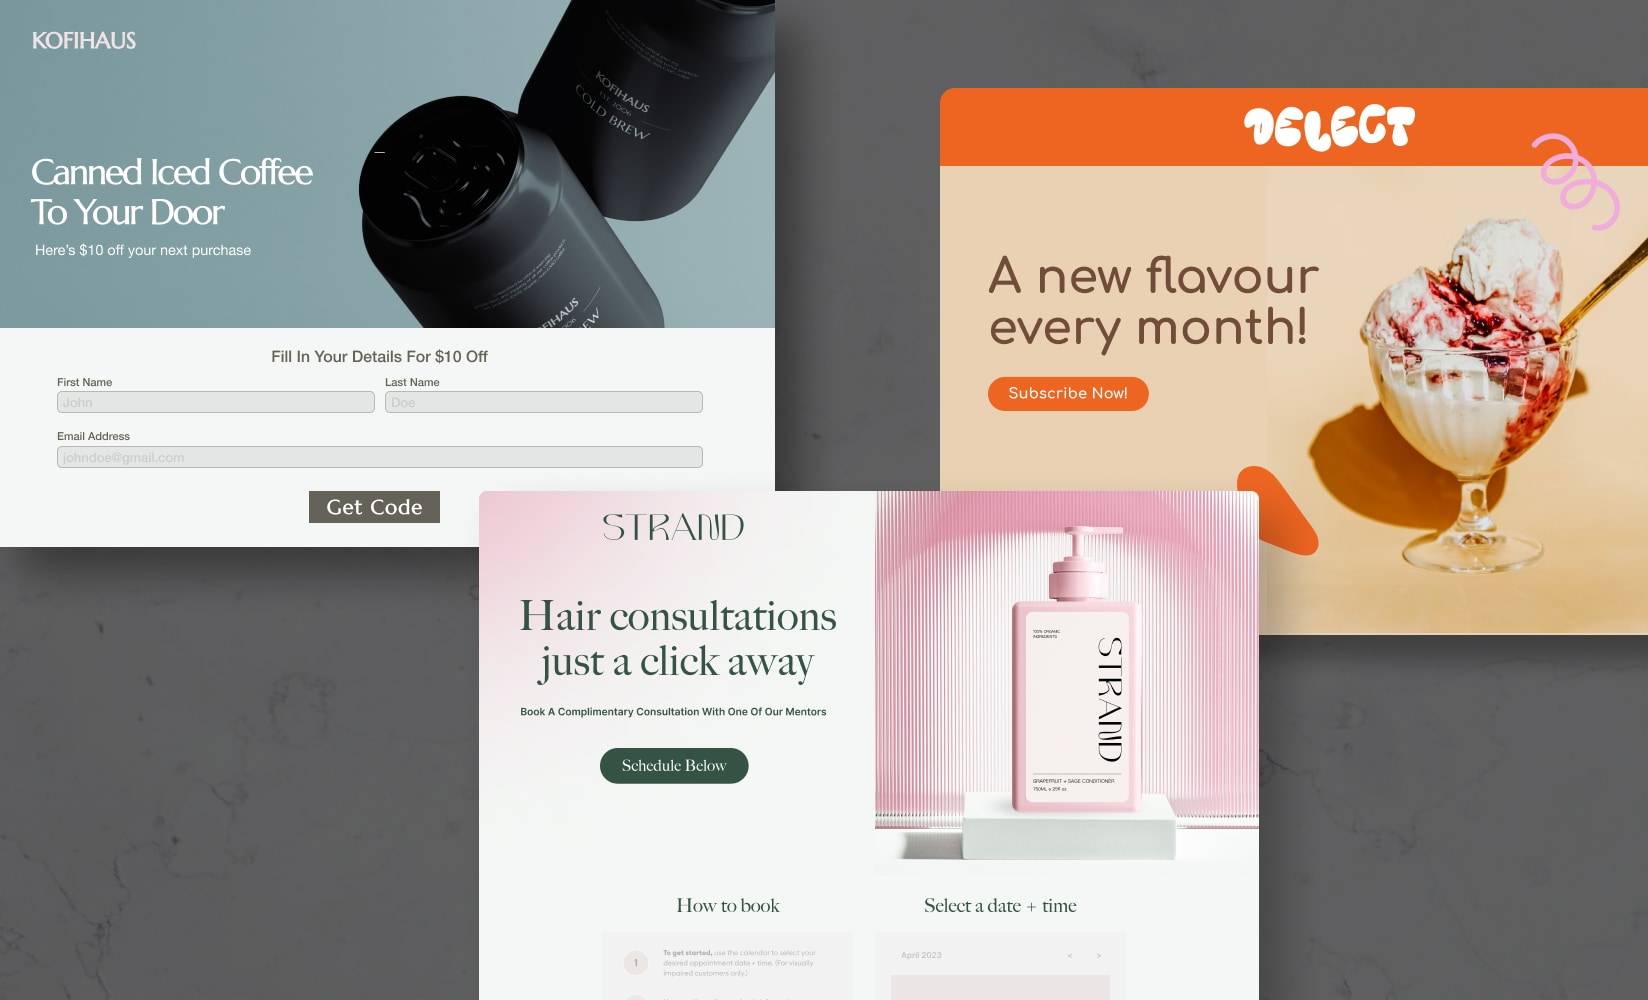
Optimizing Your Shopify Product Pages for Higher Conversion Rates
Imagine walking into a brick-and-mortar store, spotting a product you like, but struggling to find any helpful information. The lighting…
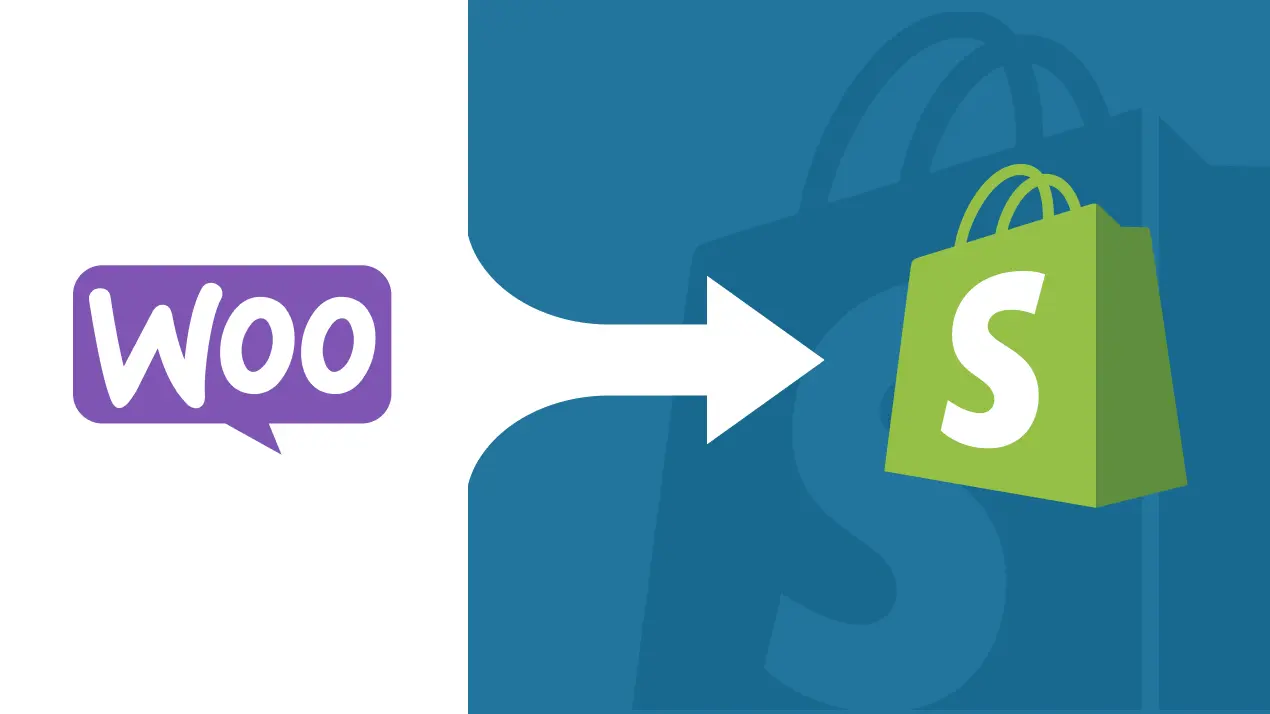
How to Migrate from WooCommerce to Shopify in 5 Simple Steps
So, your online store, built with the trusty WooCommerce, has been your digital workhorse. It’s served you well, gotten you…

The Ultimate Guide to Converting Figma Designs into Shopify Themes
I still remember the first time I tried converting a Figma design to a Shopify theme. What I thought would…
How to Optimize Your Shopify Store for Better Conversions
Getting people to visit your Shopify store is just the beginning. The real success comes from turning those visitors into…

Transform Your Figma Designs into a Flawless Shopify Store in 2025
You’ve poured your heart into a stunning Figma design for your Shopify store, and now it’s time to make it…
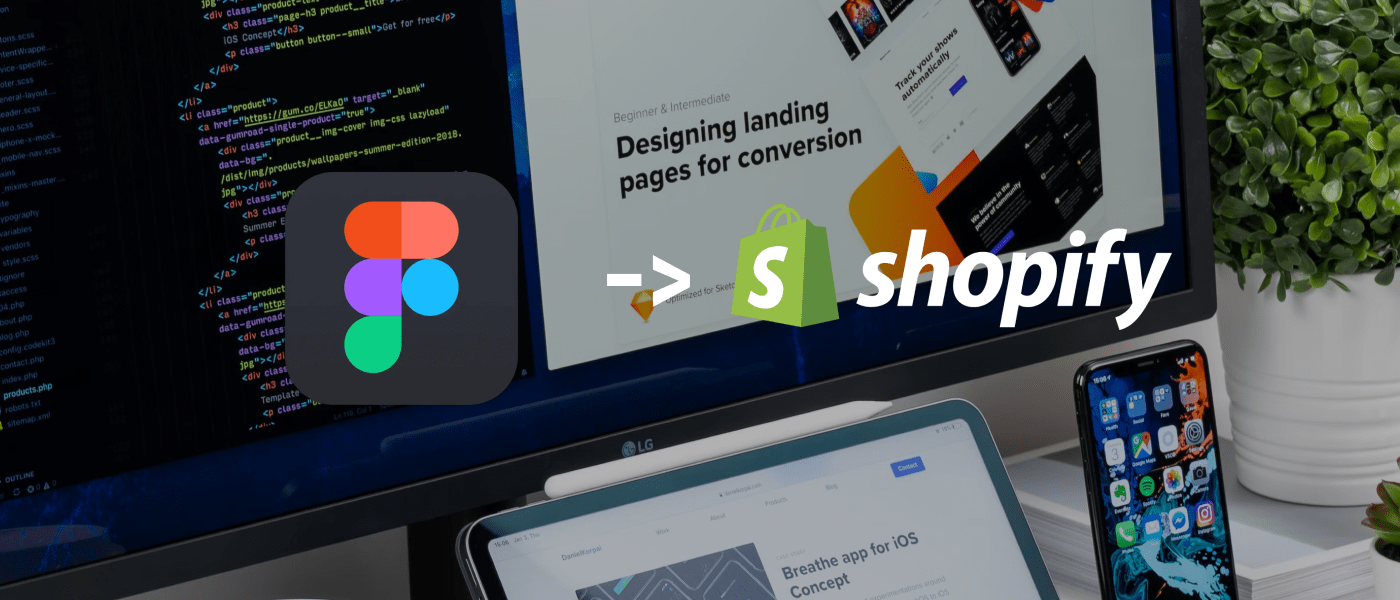
Figma to Shopify Conversion: Build a Stunning Store Fast
Transforming your Figma designs into a Shopify store doesn’t have to be complicated. Whether you’re a designer, developer, or business…

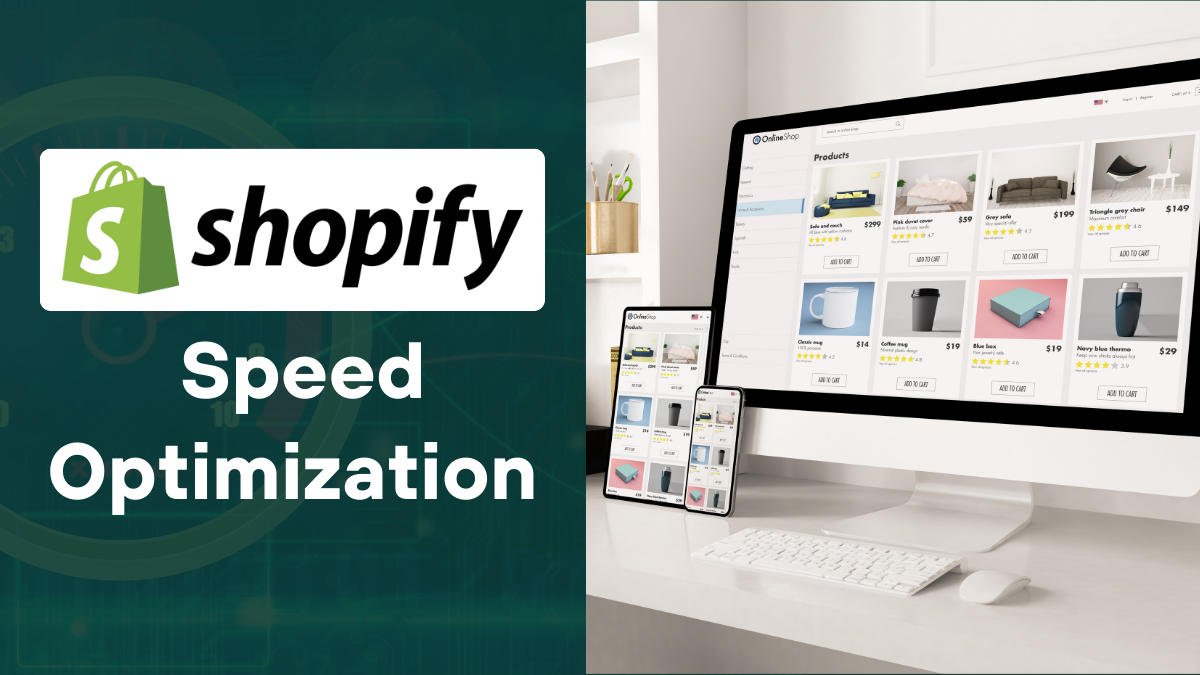
Boost Your Shopify Store Speed: Essential Steps to Faster Load Times and Higher Conversions
Supercharge Your Shopify Store: A Guide to Blazing Speed In the wild world of online retail, every tick of the…
How to Turn Your Figma Designs into a Working Shopify Store in Simple Steps
Ever designed a gorgeous Figma mockup and wondered, “How do I make this a real Shopify store?” You’re not alone.…

Figma to Shopify Simplified: Build Your eCommerce Store Step by Step
Got a Figma design you’re dying to turn into a Shopify store? You’re in the right spot. This isn’t some…