You’ve poured your heart into a Figma mockup, and now it’s time to see it thrive as a Shopify store. Customizing a Shopify theme to match your design isn’t some tech wizardry—it’s a straightforward process anyone can tackle. This guide strips it down to the essentials, showing you how to bring your Figma vision to life, step by step. Let’s get your store up and humming.
Step 1: Prep Your Figma Mockup
Before you touch Shopify, make sure your Figma mockup is dialed in. Picture yourself shopping it—does the homepage spark interest? Are product pages clean and tempting? Is the checkout a breeze? Tweak until it’s a design you’d brag about. A tight mockup now keeps the process smooth later.
Step 2: Choose a Shopify Theme That Fits
Shopify’s got a treasure trove of themes—free ones like “Craft” or premium picks like “Pipeline.” Scroll through and grab one that echoes your Figma’s style. If your mockup’s sleek and modern, lean minimal. If it’s punchy and bold, pick something with attitude. Install it via your Shopify dashboard, and you’ve got your canvas.
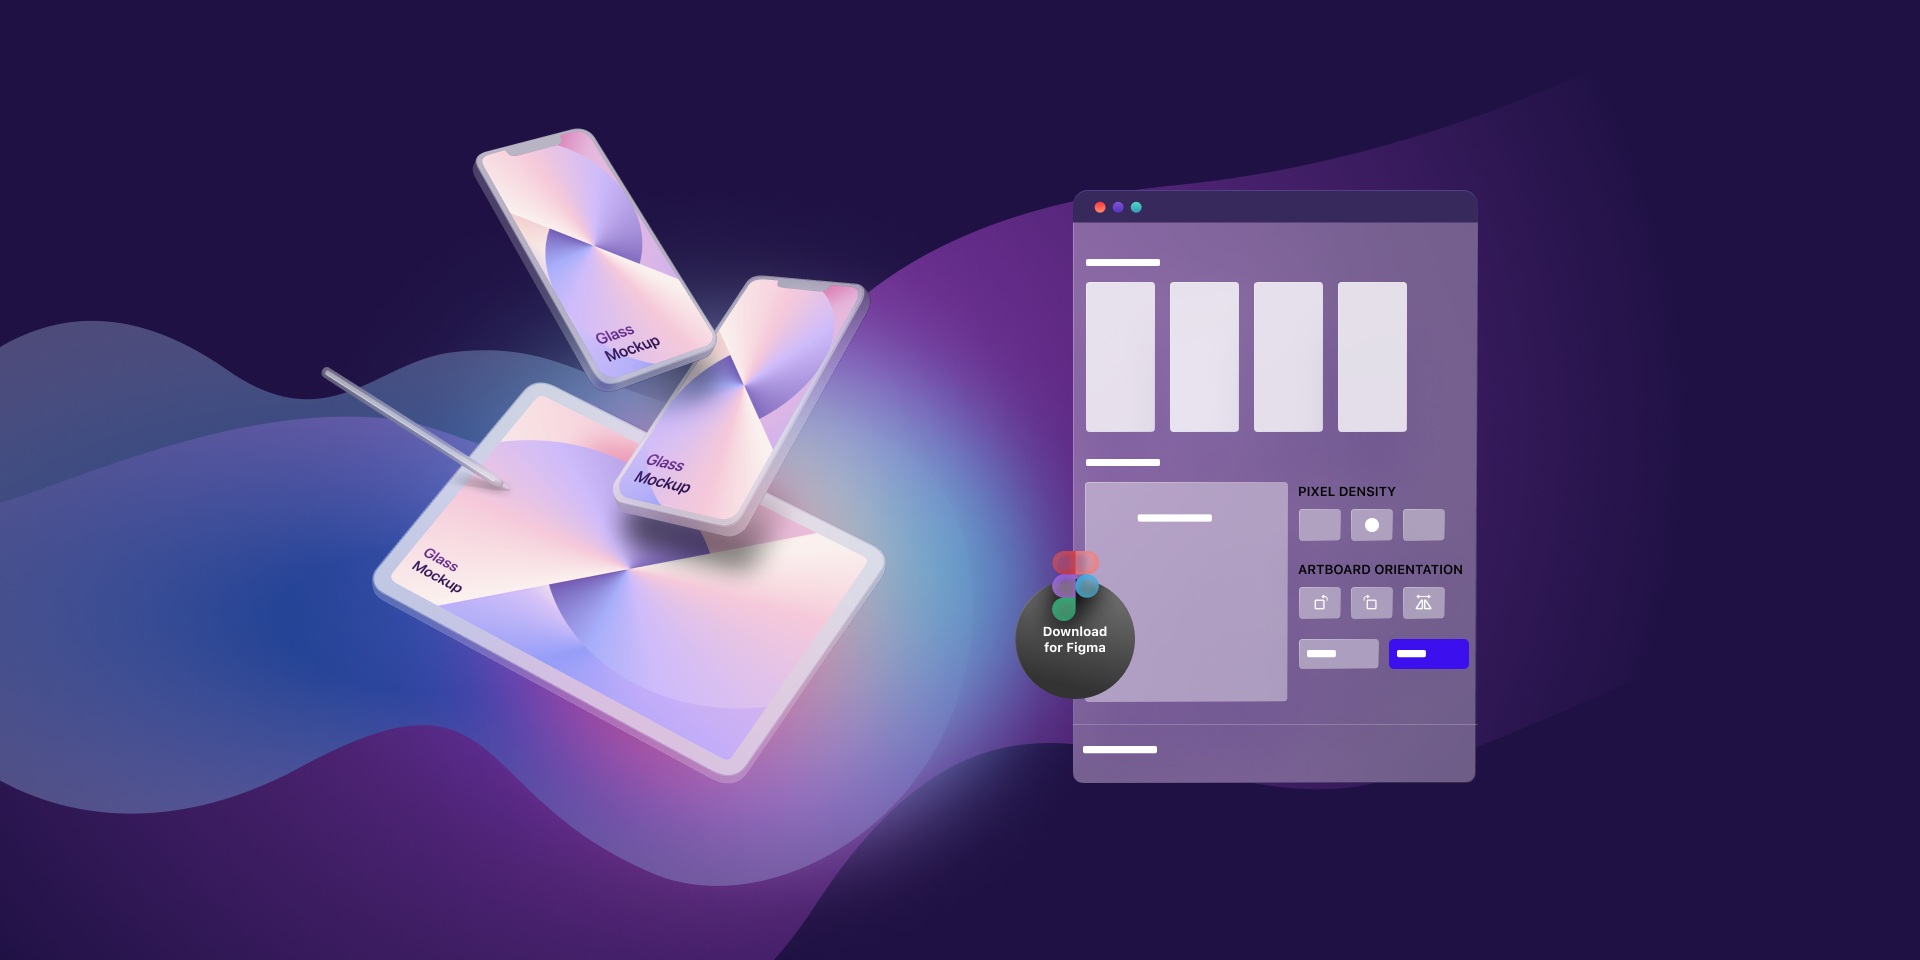
Step 3: Pull Your Figma Assets Together
Open your Figma file and round up what you’ll need. Export images—logos, banners, product shots—in crisp PNG or JPG format for that pro polish. Jot down your fonts (think “Poppins” or “Georgia”) and snag those color codes (like #FFC107). It’s your blueprint for making Shopify look the part.
Step 4: Dive Into Shopify Customization
In Shopify, head to “Online Store” and click “Customize.” This is where your mockup starts taking shape. Upload your images—swap out the theme’s defaults with your own. Plug in your fonts through the typography settings and match colors using those hex codes. Rearrange sections—headers, footers, whatever—until it’s your Figma design in real time. For a custom twist, like a standout call-to-action, dip into the code editor and tweak the CSS. It’s less daunting than it seems.
Step 5: Add Products and Test the Vibe
Your theme’s looking sharp—now make it functional. Add your products—photos, titles, prices—using your Figma product page as a roadmap. Don’t just dump them in; test the flow. Add an item to the cart, run through checkout, click around. If it feels seamless, you’re golden. Shopify’s interface keeps this quick and painless.
Step 6: Perfect the Mobile Experience
Half your customers will hit your store from their phones, so it better shine there. Use Shopify’s mobile preview to scope it out. Buttons too tiny? Bump them up. Images stretched weird? Adjust the scale. A mobile-friendly theme isn’t optional—it’s your edge for sales and search rankings.
Step 7: Final Run-Through and Launch
Before you unleash it, play customer. Click every link, test every button, clock the load time. Does it feel fast and intuitive? If yes, head to Shopify and hit “Publish.” Your Figma mockup’s now a living, breathing Shopify theme, ready to sell. Take a second to soak that in—you made it happen.
Bonus Tip: Amp It Up with Apps
If your Figma mockup has extras—like a live chat box or a sale timer—Shopify’s app store is your friend. Grab what fits, but keep it lean. Too many apps can bog things down, and speed’s a dealbreaker for shoppers and Google alike.
Why This Matters
Customizing a Shopify theme with your Figma mockup isn’t just about looks—it’s about owning your brand. You get a store that’s uniquely yours, built to your specs, without wrestling code for weeks. It’s your creativity, unleashed on the world, ready to turn browsers into buyers.
Ready to Roll?
This isn’t rocket science—it’s a clear shot from Figma to Shopify success. You don’t need to be a developer or a design guru; you just need your mockup and a little grit. Start with that Figma file, follow these steps, and watch your store come alive. It’s faster than you think, and the payoff? A Shopify theme that’s all you, top to bottom.